
CLASSES

Beginners Photography Course
Weekly Classes - Coventry

Lightroom Photo Editing Course
Weekly Classes - Coventry

RPS Accreditation
Online Mentoring for RPS

Photography Mentoring
Monthly Assignments
Beginners Photography Course
Weekly Classes - Coventry
Lightroom Photo Editing Course
Weekly Classes - Coventry
RPS Accreditation
Online Mentoring for RPS
Photography Mentoring
Monthly Assignments
All Workshops
Check out the full list of workshops
2.5hr to 4hr on Location
Small group - Midlands
One Day on Location
Small group One-day - UK Wide
2-5 Days on Location
Small group residential - UK Wide
Private Lessons
1-2-1 Face To Face
Online Lessons
1-2-1 Zoom Lessons
Gift Vouchers
For any photographer.
Pick N Mix
Interest-Free Payment Plans
Why Use A Professional Photographer?
Use a professional for professional results.
To Shoot Your Products or Services
Professional photos for your product, property, services and company
To Shoot Your Portraits
Graduation, Social Media Profile Shots, Personal and more.
To Train You or Your Staff
Corporate Photography Training for your staff or team
Latest Images
My latest photos
Portfolio
Browse my image collections
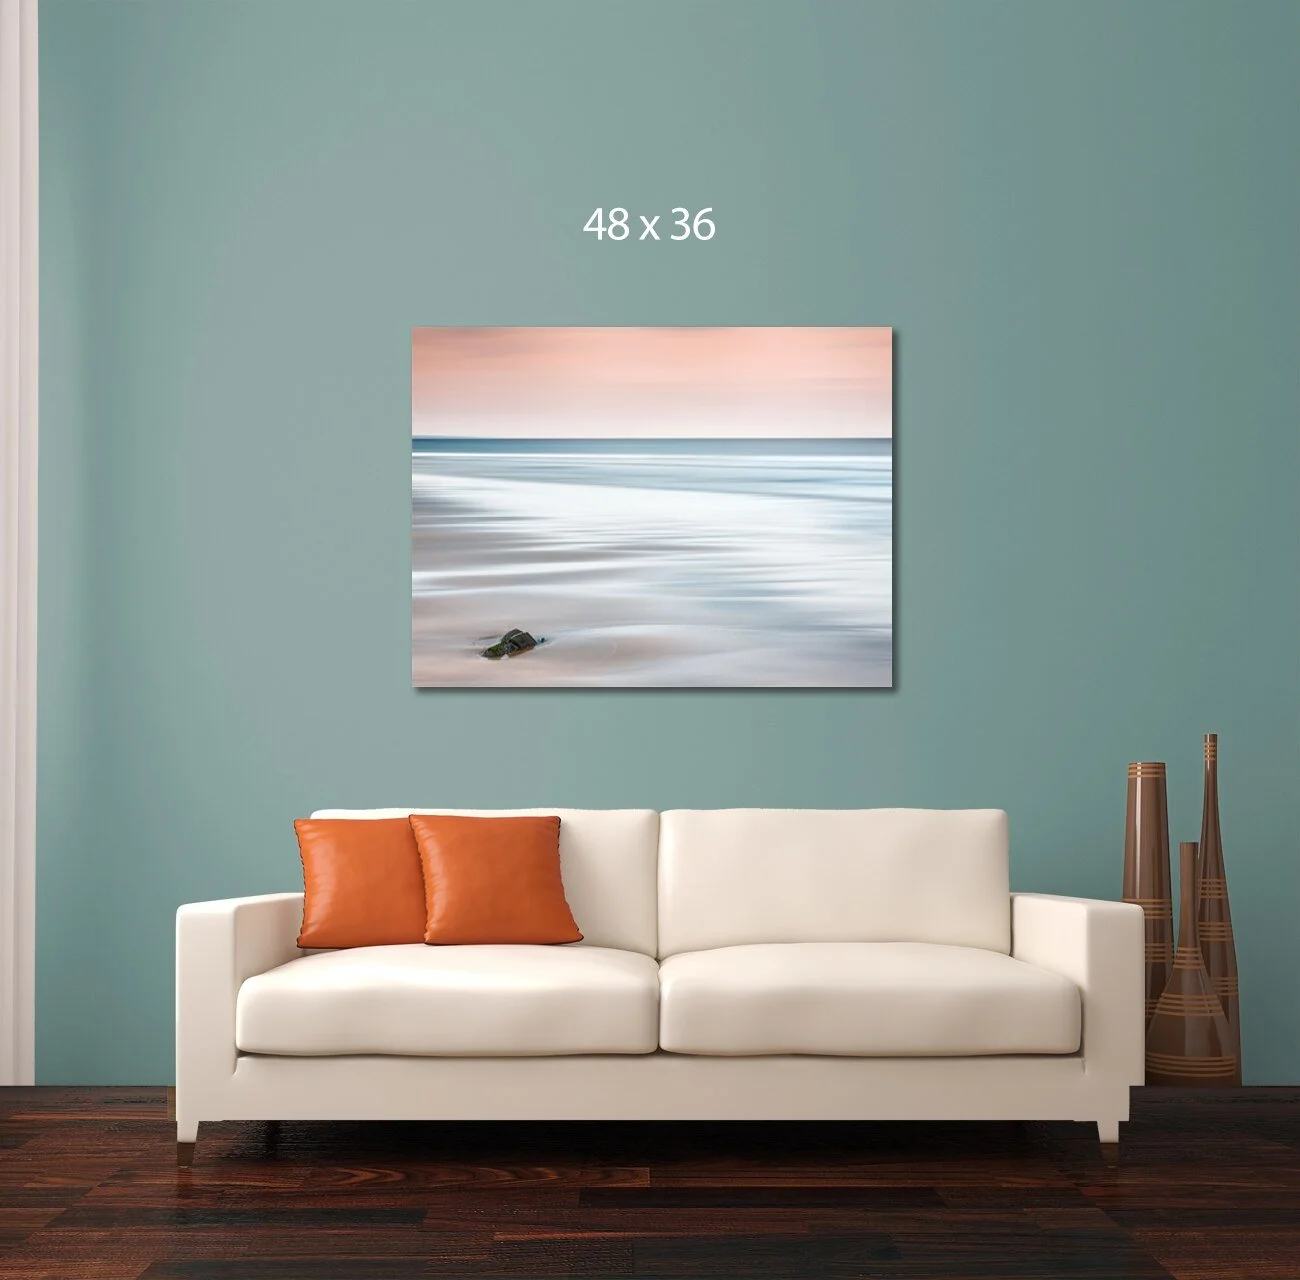
Fine Art Prints
Framed or Unframed
Blog Posts
My Mumblings and Advice
Academy
FREE Online Photography Course
Recommended
My recommended products and partners
Which Direction?
Book a free call with me for advice
About Me
Alan Ranger
About My Ethics
My Approach
About My Feedback
What my clients say
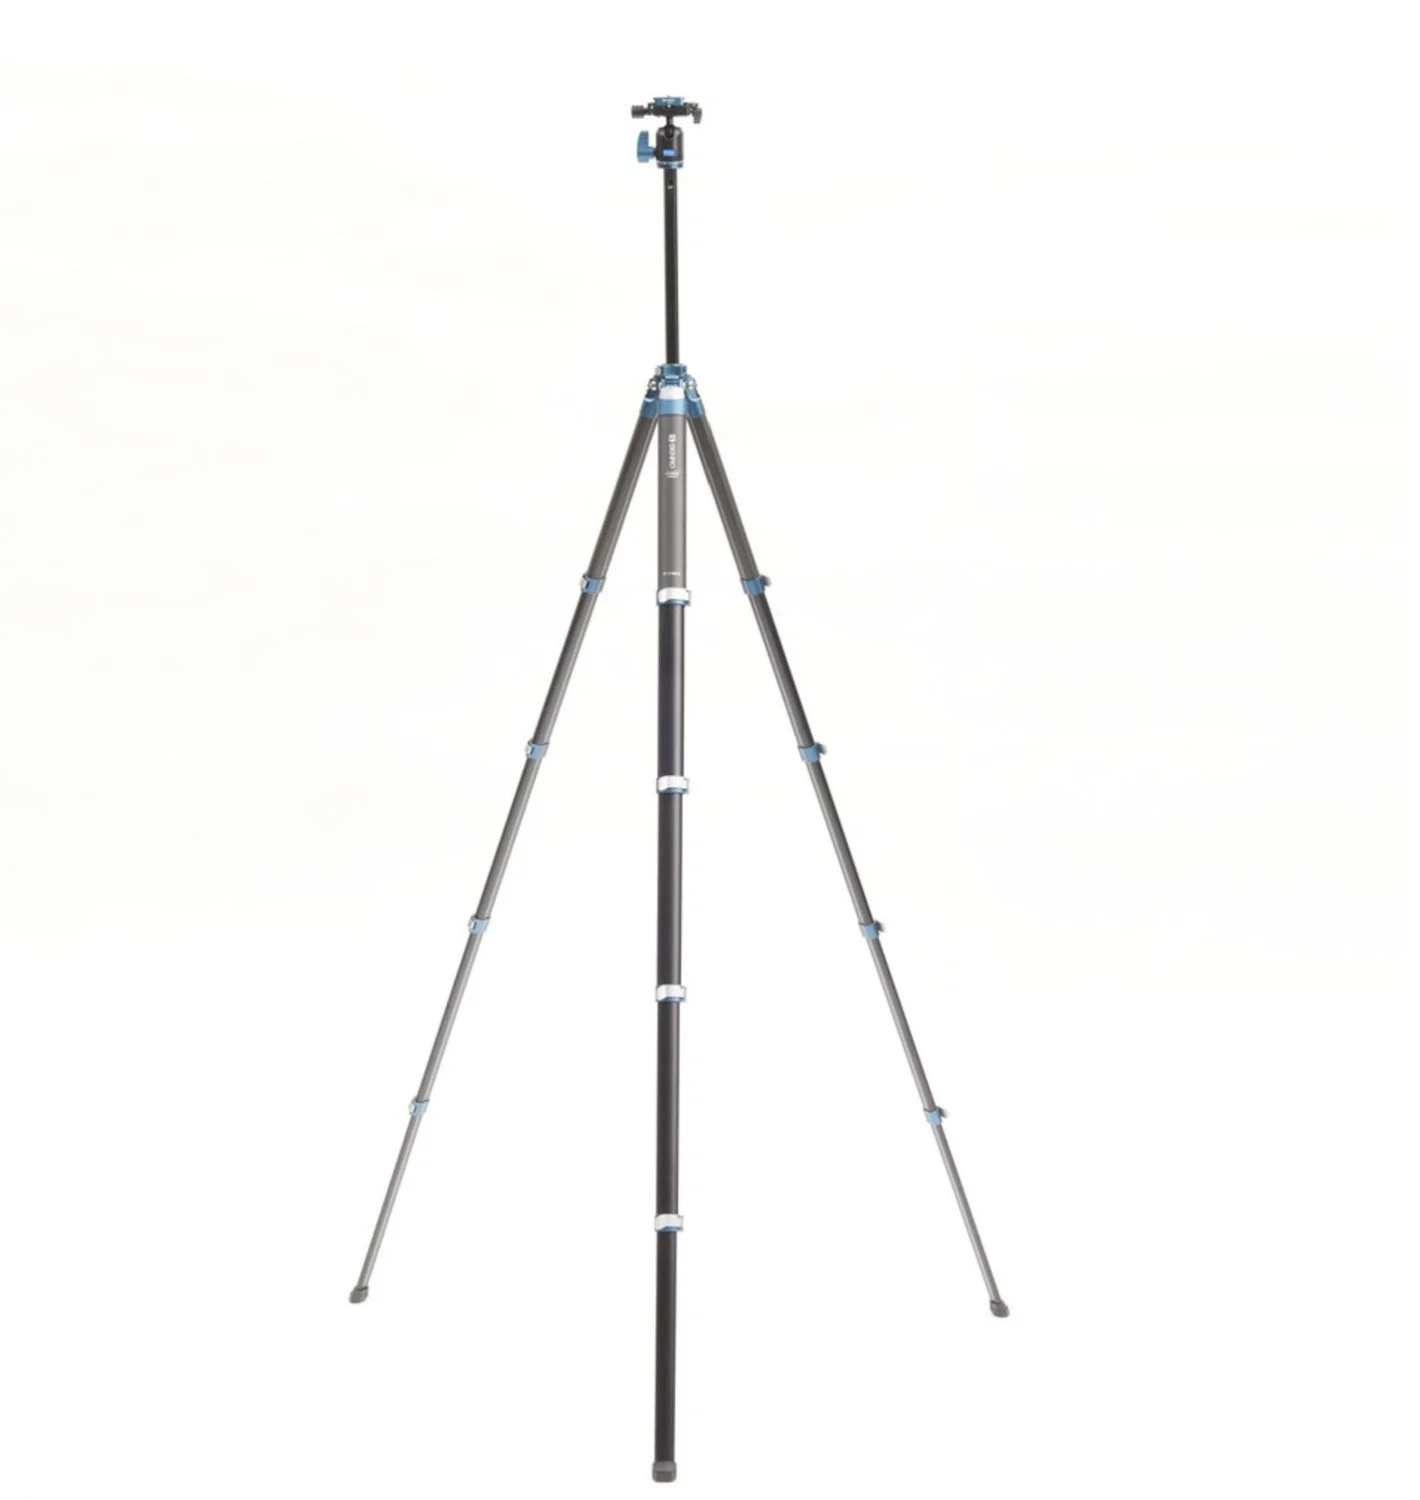
[Update - I have written an updated version on this topic - Everything You Need to Know about tripods]
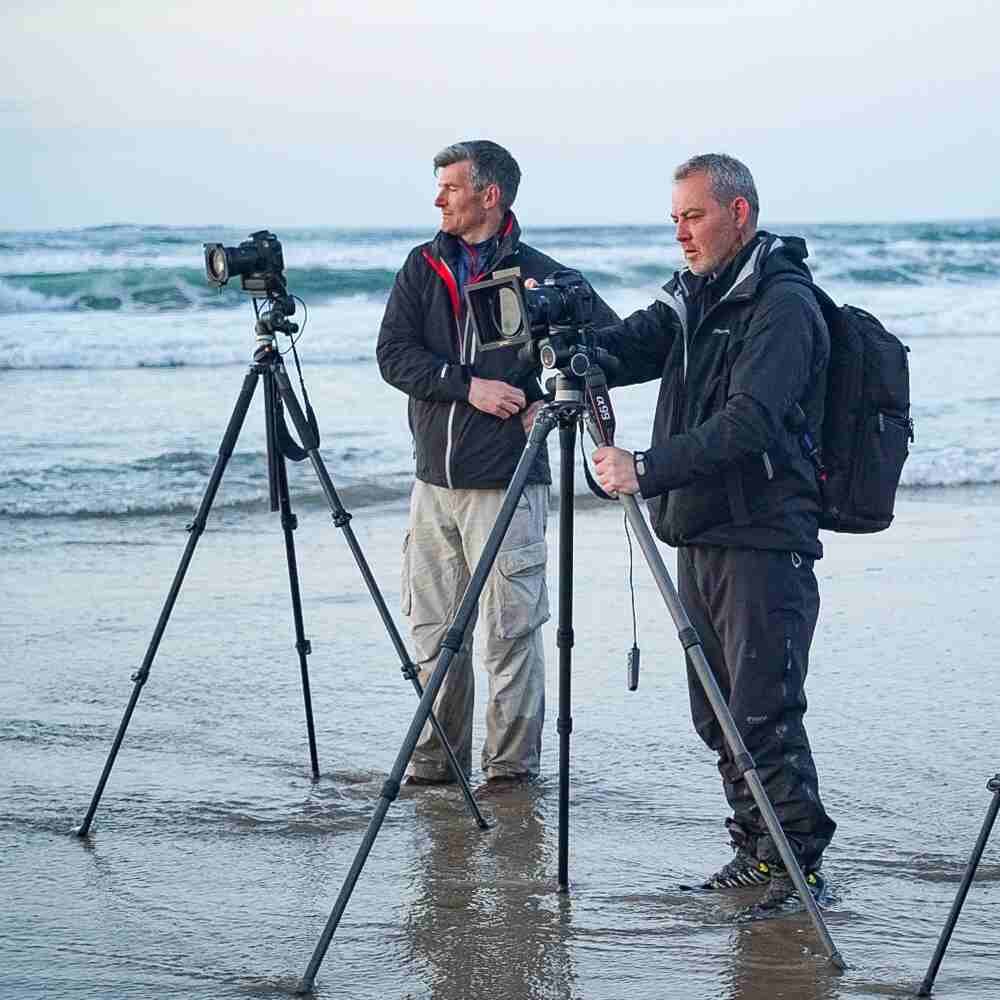
Always start with extending the smallest, bottom legs first. It’s will help prevent dirt, sand and grit being pushed up inside the next leg and preserve the joints.
Increase the tripod height by extending bottom legs fully first, then the next section and finally top section. It saves you bending down to make height adjustments.
Always extend the legs fully so they are at their widest stopping point at that angle. Most tripod legs allow two or three further width positions if needed to stabilise further or get lower down.
Try to get the tripod as level as possible. Use the spirit level on the tripod head or stand 90 degrees on (to side) and look at the centre column to see if it looks 180 degrees vertical (for those that don’t do degrees that’s 6 O’clock with clock hands)
Always have one tripod leg pointing out at the same angle as the lens. Having a tripod leg under the lens reduces the chance of the tripod falling forwards and means you will be positioned between the rear two legs /\
Only use the centre column as the last resort to get extra height. Extending the centre column is a single point of connection versus three so destabilises the weight distribution.
If you are using a heavier zoom lens, make sure to mount the lens on your tripod using its tripod collar. This will redistribute and balance the weight of camera and lens.
Invest in a detachable camera strap system. Straps flap around in the wind causing vibration, are annoying when you are working on a tripod and worse still a hazard if you catch your hand/arm and topple the tripod over.
Use a cable remote release or control (or 2sec timer) to fire the exposure. There’s not much point having a stable tripod setup if you then introduce movement and vibration by using your finger to take the shot.
Turn Off Image Stabilization: When your gear is on a stable setup, you do not want image stabilization to try to compensate for movement that is not there.
Always leave an inch of the smallest let extended, even when storing, it allows time for the dirt to dry and fall off the feet and bottom inch of the leg.
Clean the tripod with a damp (water) cloth, do not use soap or other liquids.
Use a small soft brush or old toothbrush to remove sand and dirt from tripod leg joints.
Always stand a tripod on 3 legs fully extended when out and about, laying a tripod down on its side is not going to preserve it at its best and will undoubtedly increase the risk of damage to the section joints and tripod head
Store it standing up if possible, or laying down in a soft padded bag in a dry place so it has time to dry off and is protected from knocks and accidents.
If you wish to purchase any of the accessories mentioned in these tips, please visit my Amazon recommended products page.


Master exposure with this free Outdoor Photography Exposure Calculator - Perfect for beginners learning aperture, shutter speed, ISO and the exposure triangle.