CLASSES

Beginners Photography Course
Weekly Classes - Coventry

Lightroom Photo Editing Course
Weekly Classes - Coventry

RPS Accreditation
Online Mentoring for RPS

Photography Mentoring
Monthly Assignments


To Shoot Your Products or Services
Professional photos for your product, property, services and company


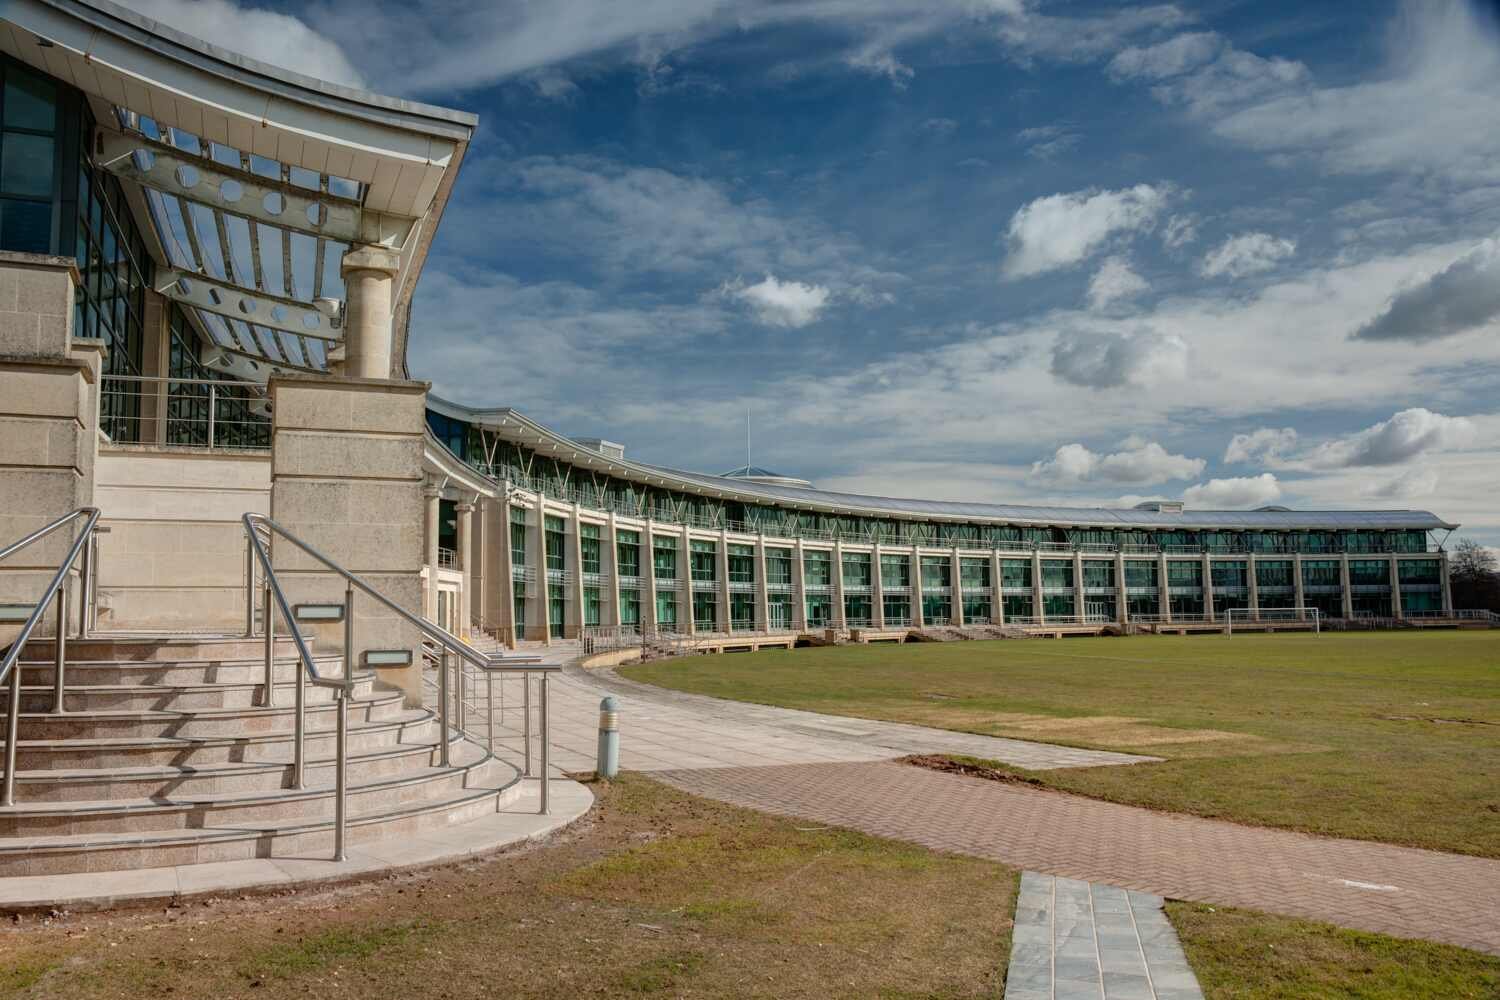
Architecture photography captures the essence of human ingenuity and artistic expression in the built environment. It offers a unique way to explore the interplay of light, shadows, and patterns that define buildings and urban landscapes. This captivating art form allows photographers to showcase the beauty of structures, from grand cathedrals to modern skyscrapers, through carefully composed images that highlight symmetry, perspective, and intricate architectural details.
For beginners venturing into architectural photography, mastering key techniques is essential to create compelling images. This guide will explore the fundamental photography gear and photographer equipment needed, including tripods and wide-angle lenses, to capture stunning exteriors and interior photography. It will delve into composition strategies that emphasise vertical lines and geometric shapes, as well as methods to work with natural and artificial lighting. Finally, the article will cover post-processing tips to enhance architectural photographs, helping newcomers to develop their skills and produce professional-quality results.

For beginners venturing into architectural photography, selecting the right camera body and lenses is crucial. A mirrorless camera or DSLR with a full-frame camera sensor, such as the Sony a7R IV, offers superior image quality, high megapixels, and better performance in low-light conditions. However, for those on a budget, an APS-C camera like the Fujifilm X-T4 can serve as an excellent best beginner camera for photography or best compact camera for beginners in your photography starter kit.
When it comes to lenses, a wide-angle lens with a focal length between 16-35mm is ideal for capturing expansive interiors and exteriors. The Canon 16-35mm f/2.8L III USM is a versatile choice, providing excellent sharpness and distortion control. For those using Sony systems, the Sony FE 12-24mm f/2.8 GM is a comparable option. A prime lens like the Sigma 14mm f/1.8 DG HSM Art can also be a valuable addition to your architectural photography gear.
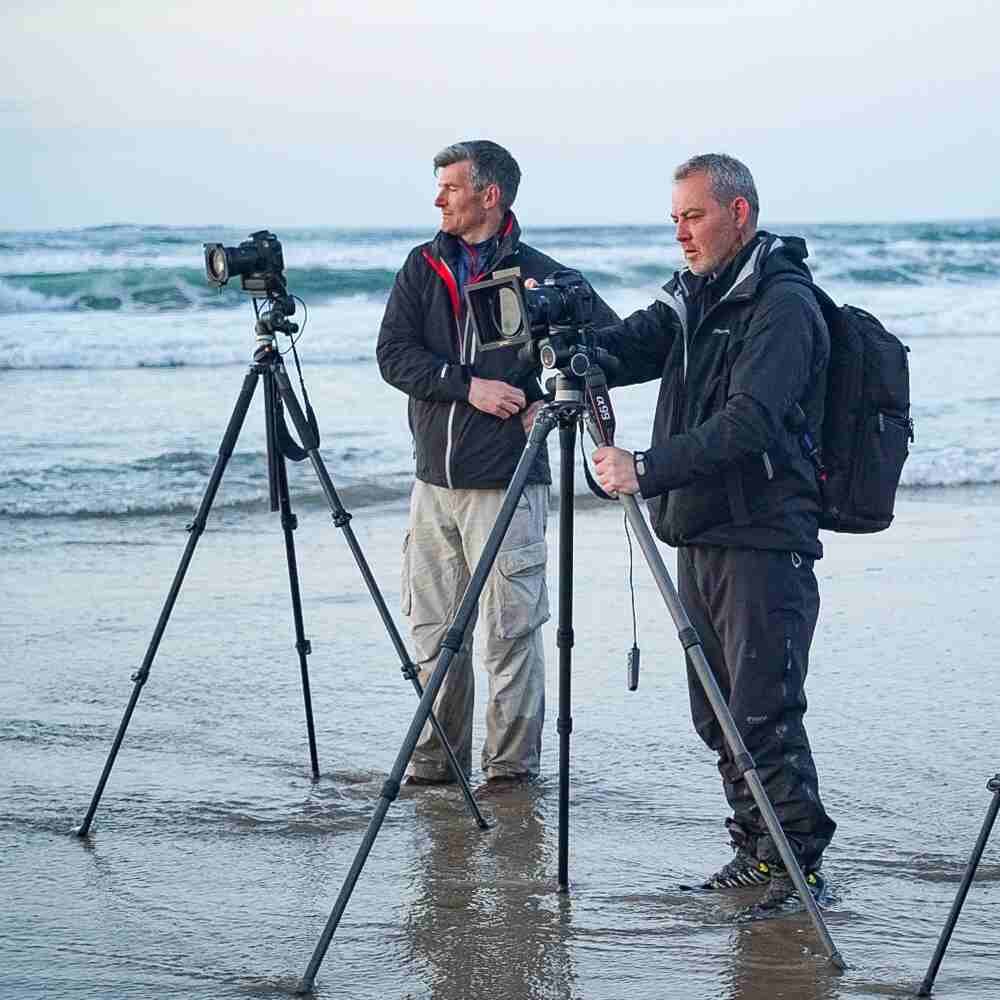
A sturdy tripod is indispensable for architectural photography. It ensures sharp images, especially during long exposures or in low-light conditions. When choosing a tripod, consider factors such as weight capacity, height, and durability. The Gitzo Systematic or Benro lines offer professional-grade stability for those willing to invest more.
To further reduce camera shake, a remote shutter release or cable release is essential. This allows photographers to trigger the camera without physically touching it, minimising vibrations and ensuring crisp images.
Neutral density filters are valuable tools for controlling exposure in bright conditions or creating long-exposure effects. A circular polarising filter is also beneficial, as it helps to reduce reflections and enhance colours and contrast in architectural shots.
Additional camera accessories that can elevate architectural photography include:
Hot shoe bubble level: Ensures the camera is perfectly level, saving time in post-production.
Tilt-shift lens: Allows for perspective control and minimises the keystoning effect in architectural shots.
Cam Ranger: Enables remote viewing and control of the camera via a tablet or smartphone, useful for complex setups.
By investing in these essential pieces of photography gear and photographer equipment, beginners can lay a solid foundation for their architectural photography journey, enabling them to capture stunning images of buildings and structures with precision and creativity.
Mastering composition techniques is essential for creating compelling architectural photographs. By understanding and applying these principles, photographers can guide the viewer's eye and create visually striking images that showcase the beauty of buildings and structures.
The rule of thirds is a fundamental composition technique that can significantly enhance architectural photographs. This principle involves dividing the image into a 3x3 grid and placing key elements along the lines or at their intersections. By positioning important architectural features at these points, photographers can create more balanced and dynamic compositions.
To apply the rule of thirds effectively:
Activate the grid feature on your camera or smartphone.
Place the main subject or focal point at one of the intersection points.
Align horizontal elements, such as horizons or building edges, along the horizontal grid lines.
Position vertical elements, such as columns or doorways, along the vertical grid lines.
Leading lines are powerful compositional elements that guide the viewer's eye through the photograph towards the main subject. In architectural photography, these lines can be found in various forms, such as roads, staircases, or structural elements of buildings.
To incorporate leading lines effectively:
Identify natural or man-made lines in the scene that lead towards the main architectural subject.
Experiment with different angles and perspectives to emphasise these lines.
Use diagonal lines to create a sense of energy and movement in the image.
Look for converging lines that draw attention to a vanishing point, adding depth to the composition.
Symmetry and patterns are abundant in architecture, offering photographers numerous opportunities to create visually striking images. Symmetrical compositions can convey a sense of harmony and balance, while patterns can add rhythm and visual interest to a photograph.
To capture symmetry and patterns effectively:
Look for reflective surfaces, such as glass facades or water features, to create mirror-like symmetry.
Seek out repetitive elements in building designs, such as windows, arches, or columns.
Use a central composition to emphasise perfect symmetry in a building's facade.
Experiment with breaking patterns by including a contrasting element to add visual interest.
By mastering these composition techniques, photographers can elevate their architectural images, creating visually compelling photographs that showcase the beauty and intricacy of buildings and structures.
The golden hour occurs twice daily, offering photographers a unique opportunity to capture stunning architectural images. In the morning, it begins when the Sun is at -4º elevation and ends when it reaches 6º above the horizon. In the evening, it starts at 6º elevation and concludes at -4º. During this time, the sky transitions from red and orange to golden tones, creating a warm color temperature. The light is soft, diffused, and has little contrast, making it ideal for exterior photography and interior photography.
The blue hour, occurring just before sunrise and after sunset, provides a different aesthetic. It begins when the Sun is at -6º elevation and ends at -4º. During this period, the sky has a deep blue hue with a cold color temperature and saturated colors. The soft, cool light creates a striking contrast with illuminated buildings and streetlights, perfect for urban landscapes.
High Dynamic Range (HDR) photography has become a valuable technique in architectural photography. It allows photographers to capture a wider range of tones in high-contrast scenes. By merging multiple exposures, HDR can reveal details in both highlights and shadows that might be lost in a single exposure.
To create an HDR image, photographers can use post-processing software like Lightroom's "HDR Merge" feature. This tool combines bracketed exposures into a single HDR file while preserving raw information. The resulting DNG file can be edited as a single raw file, offering greater flexibility in post-processing.

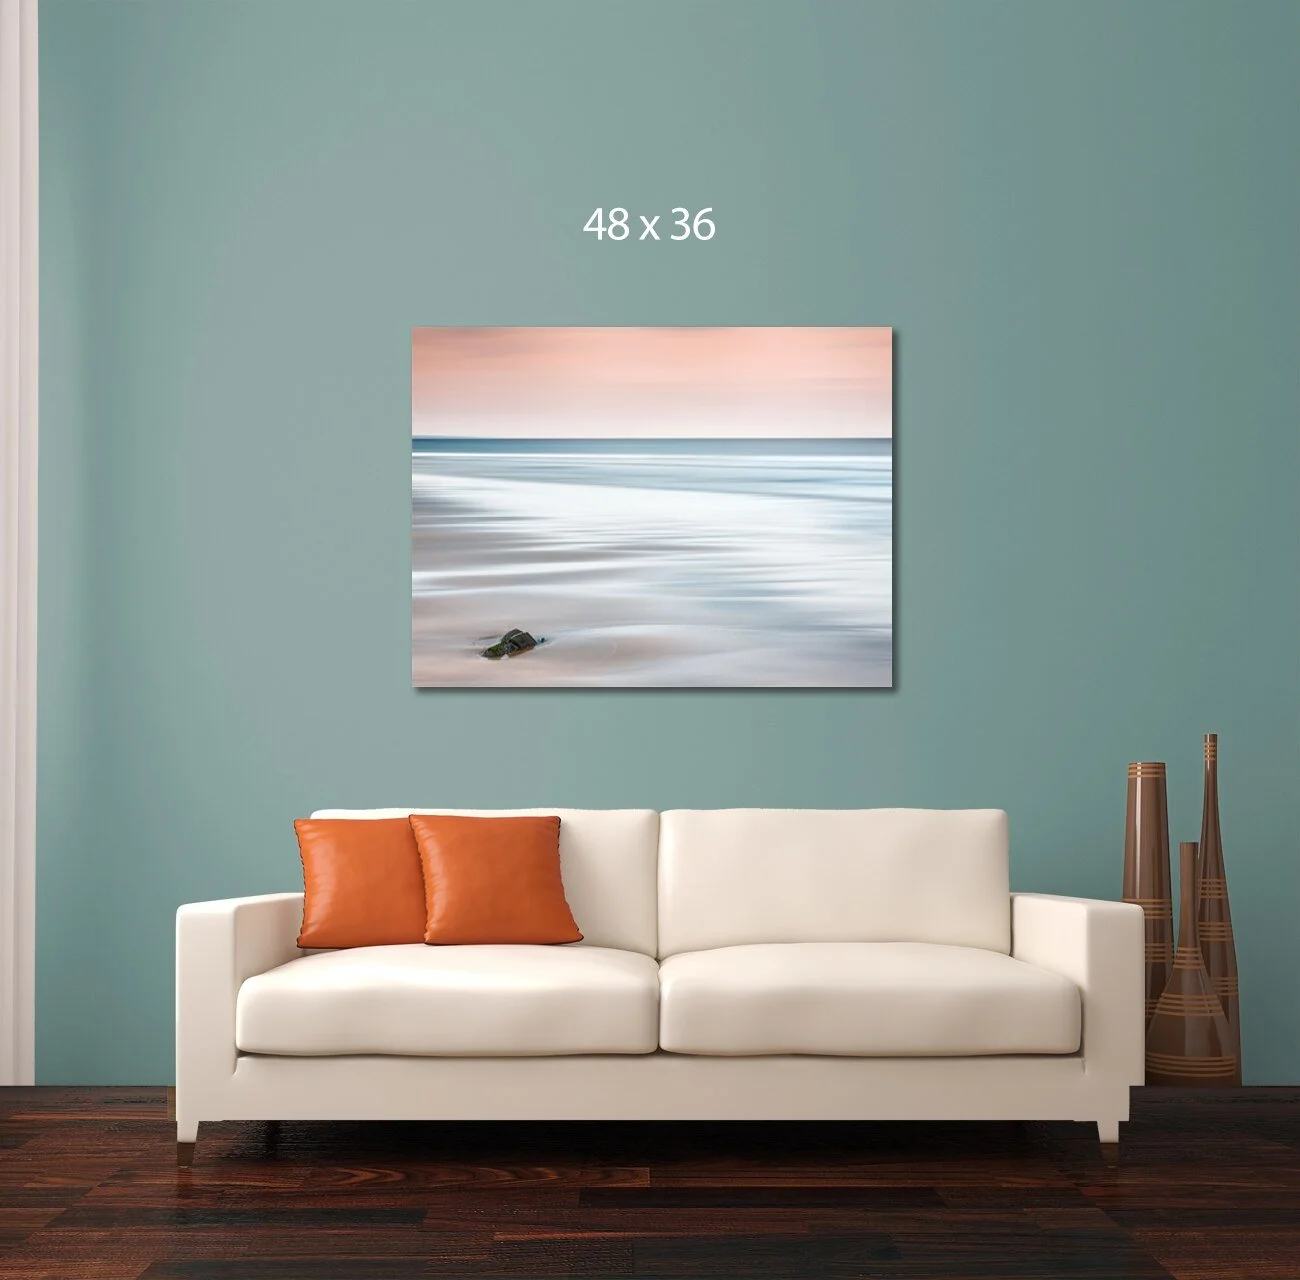
Long exposure photography has an influence on the creation of unique architectural images. It allows photographers to capture movement in clouds and water, adding a dynamic element to static structures. This technique requires neutral density filters to reduce the amount of light entering the lens, enabling longer exposure times.
When shooting long exposures, a sturdy tripod is essential to ensure sharp images. Photographers should also consider using a remote shutter release to minimise camera shake. The "Long Exposure Softbox Effect" occurs when passing clouds filter the light during long exposures, resulting in softer, dreamier images compared to short exposures.

Post-processing plays a crucial role in refining architectural photographs. One common issue photographers face is the keystoning effect, where buildings appear to lean backwards. To correct this, photographers can use perspective correction tools in post-processing software like Adobe Lightroom. The 'Transform' panel offers options such as 'Auto', 'Vertical', 'Full', and 'Guided'. For precise adjustments, the 'Guided' option allows users to draw lines along vertical edges, automatically correcting the perspective.
Alternatively, tilt-shift lenses offer an in-camera solution, allowing photographers to capture images with correct verticals without tilting the camera. While these lenses are expensive and lack zoom functionality, they save time for professional architectural photographers who prioritise getting it right in-camera.
Balancing light is essential in architectural photography, especially for interior photography. This process involves capturing multiple exposures to correctly expose both bright and dark areas. When blending these images, it's crucial to address color calibration differences between artificial indoor lighting equipment and natural daylight.
To achieve a balanced result:
Adjust exposure to reveal details in highlights and shadows.
Manage contrast to maintain depth without sacrificing natural appearance.
Correct colour casts caused by varying light sources.
Adjust the white balance for a neutral, realistic representation.
To bring out the best in architectural images, photographers can employ several techniques to enhance details:
Use selective sharpening to highlight fine architectural details without creating an unnatural appearance.
Adjust clarity and texture settings to enhance the tactile quality of surfaces.
Apply colour adjustments to bring out subtle hues in materials.
Utilise adjustment layers for non-destructive editing, allowing for fine-tuning of colour and exposure.
By carefully applying these post-processing techniques, photographers can create compelling architectural images that accurately represent the space while maintaining a natural and authentic appearance.
How can I begin my journey into architectural photography?
To start your journey in architectural photography, it's crucial to understand the fundamental principles of photography such as composition, exposure, lighting, and camera settings. Spend time learning about the different types of cameras and lenses and how they can be effectively used to capture architectural features. Consider investing in a photography starter kit that includes a best beginner camera for photography or best compact camera for beginners, along with essential photography gear and photographer equipment.
What are the steps to successfully photograph architecture?
To capture stunning architecture photographs, follow these six steps:
Choose and find your location, ensuring the viewpoint does justice to the subject.
Research and understand the structure you are photographing.
Use a tripod to ensure the images are sharp.
Experiment with shooting at different times of the day.
Explore various angles to add uniqueness to your shots.
Consider including people in your photos to add scale and context.
What is the best way to photograph architecture?
For optimal results in architectural photography, using a sturdy tripod is essential. This helps in maintaining sharpness in images taken with small apertures and low ISO sensitivity, which are necessary to capture all details clearly. These settings typically require slower shutter speeds, hence the importance of a tripod. Additionally, using a wide-angle lens and considering factors like lens mount compatibility with your camera body can greatly enhance your architectural photography.
How can I learn photography from scratch?
If you are new to photography, start by learning the basics, including understanding the exposure triangle. Familiarise yourself with the equipment and settings needed, perfect your photographic art, and learn various photography techniques. Additionally, improving your editing skills and seeking inspiration are vital steps in becoming proficient in photography. Consider investing in a photography starter kit with a best beginner camera for photography or best compact camera for beginners to kickstart your learning journey.